Set up your profile
Fill in this section with basic gallery information.
3.1 Upload cover image
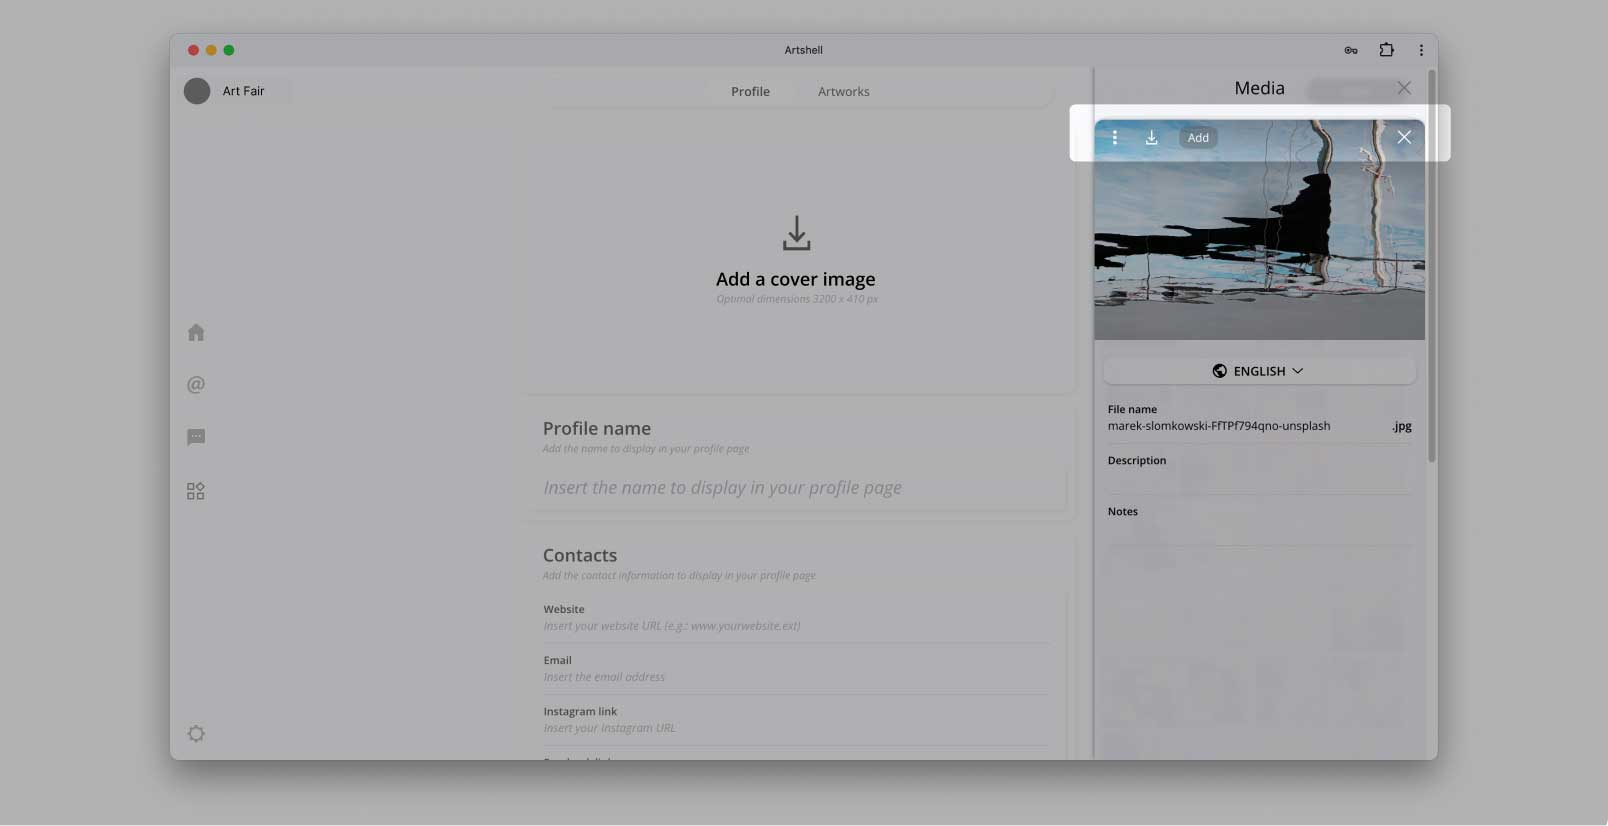
Clicking on the box will take you to the Media section, where you can upload an image by dragging it or selecting it from your computer by clicking on the "+" symbol. Once the image is uploaded, click on it and then on the "Add" button at the top to place it in the box.
For optimal viewing, we recommend that you upload an image of at least 3,200px x 410px.
- Click on the box and go to the media section
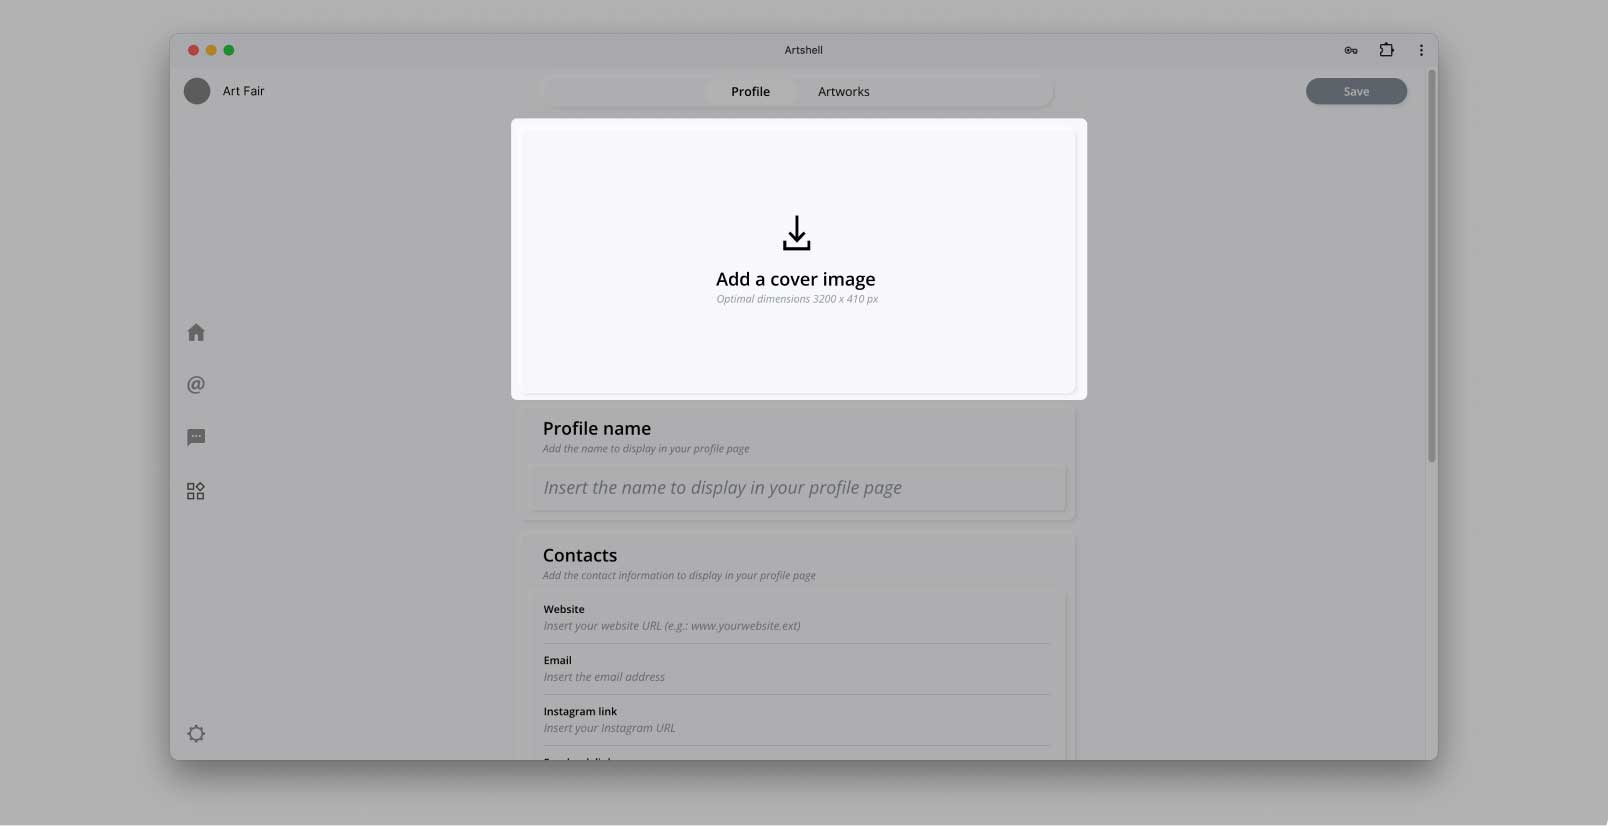
- Drag and drop or add an image by selecting it from your computer
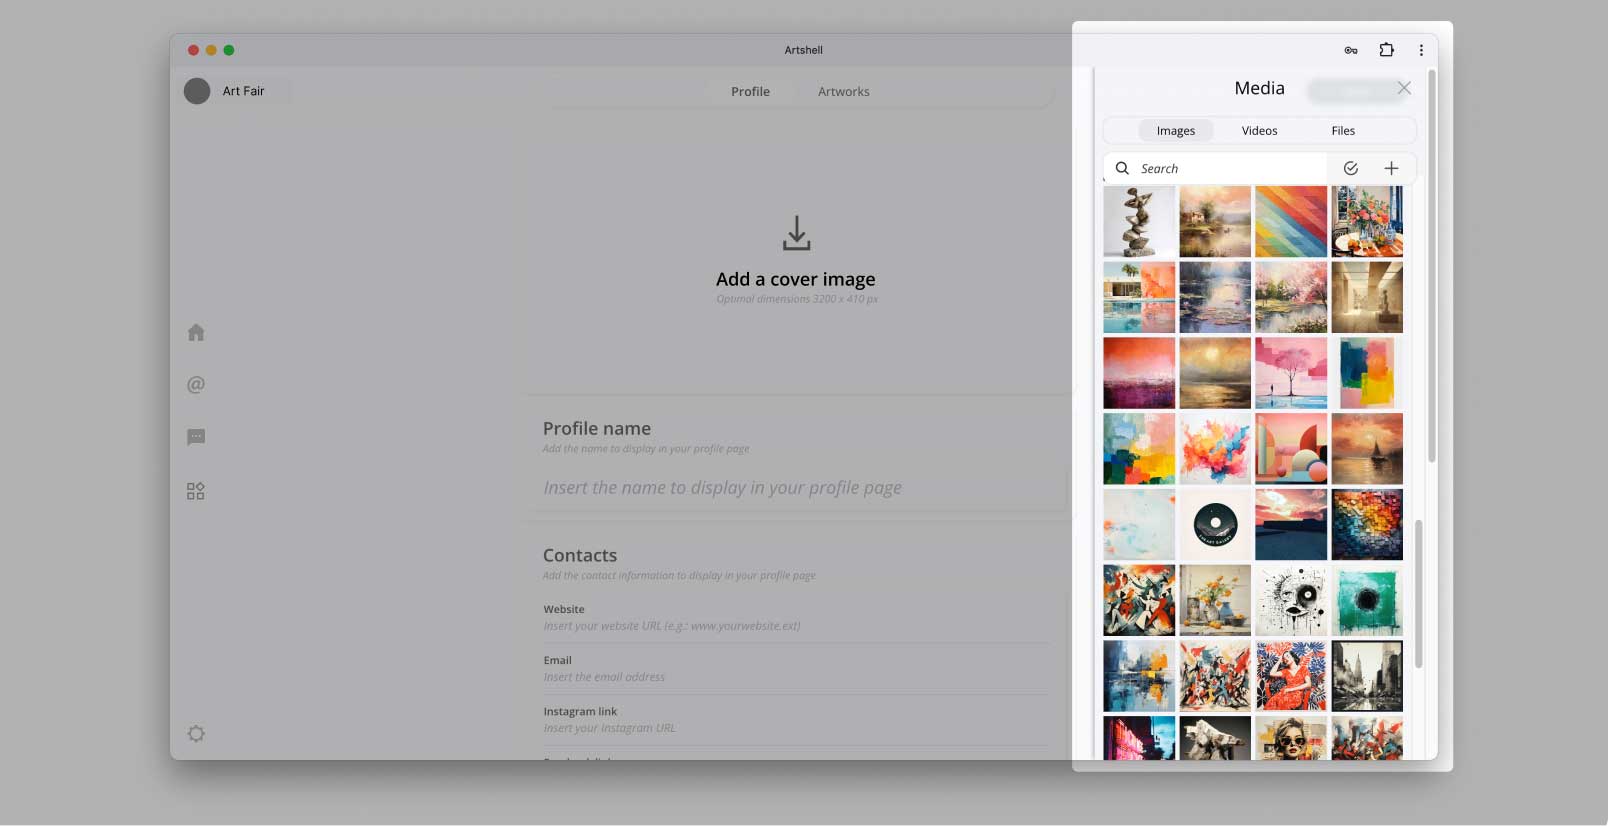
- Confirm the upload of the image in the Media section
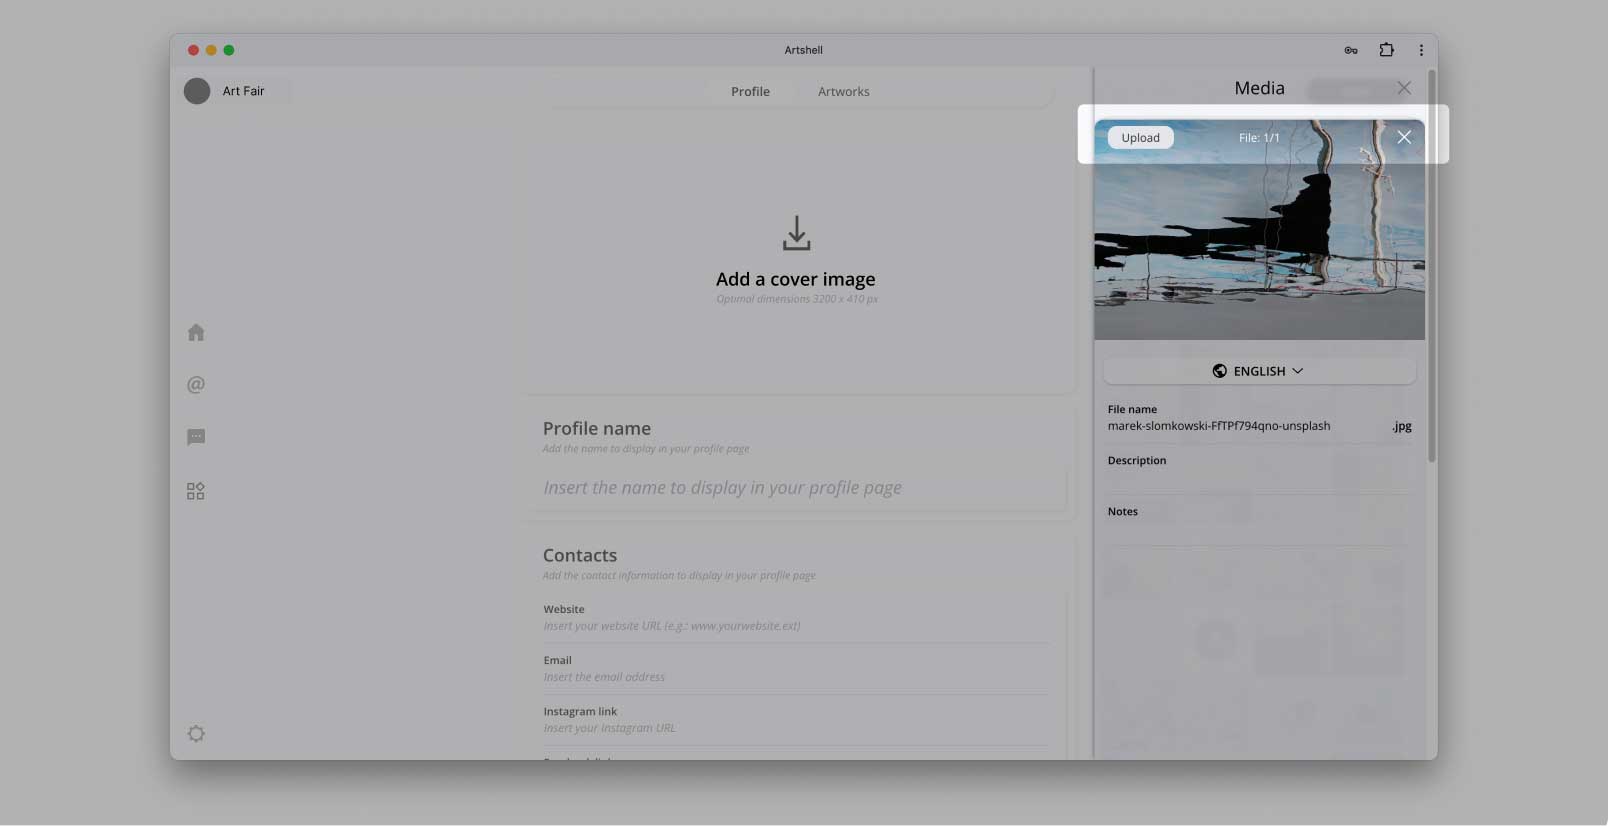
- Select and add the image in the box
3.2 Enter profile name
In the Profile Name field, enter the name of your gallery as you want it to appear on the fair's online platform (pay attention to uppercase and lowercase letters and to enter the full wording you want).
3.3 Add links and contacts
Enter gallery contacts in the dedicated fields:
- Web site: we recommend that you enter the web address starting with "www.yourwebsite.com" (without "http://", which will be handled automatically by the system).
- Email: enter the email address you would like to be displayed by the public on the fair's online platform.
- Instagram and Facebook: if you have social profiles, enter the corresponding links ex. www.instagram.com/yourgallery (without "http://," which will be handled automatically by the system).
Note
If you have used the same Artshell account before, some fields may be pre-filled. You can still edit them.
We also point out that you do not need to fill in every field, and fields left blank simply will not be displayed on the fair's online platform.
3.4 Write the description
In the "Description" field, enter a brief description of your business. Do not exceed 1440 characters.
You can enter the description in either Italian or English using the "change language" option in the upper right corner.
3.5 Manage venues and geolocation
This section allows you to list the different gallery venues, with their contact information. To get started:
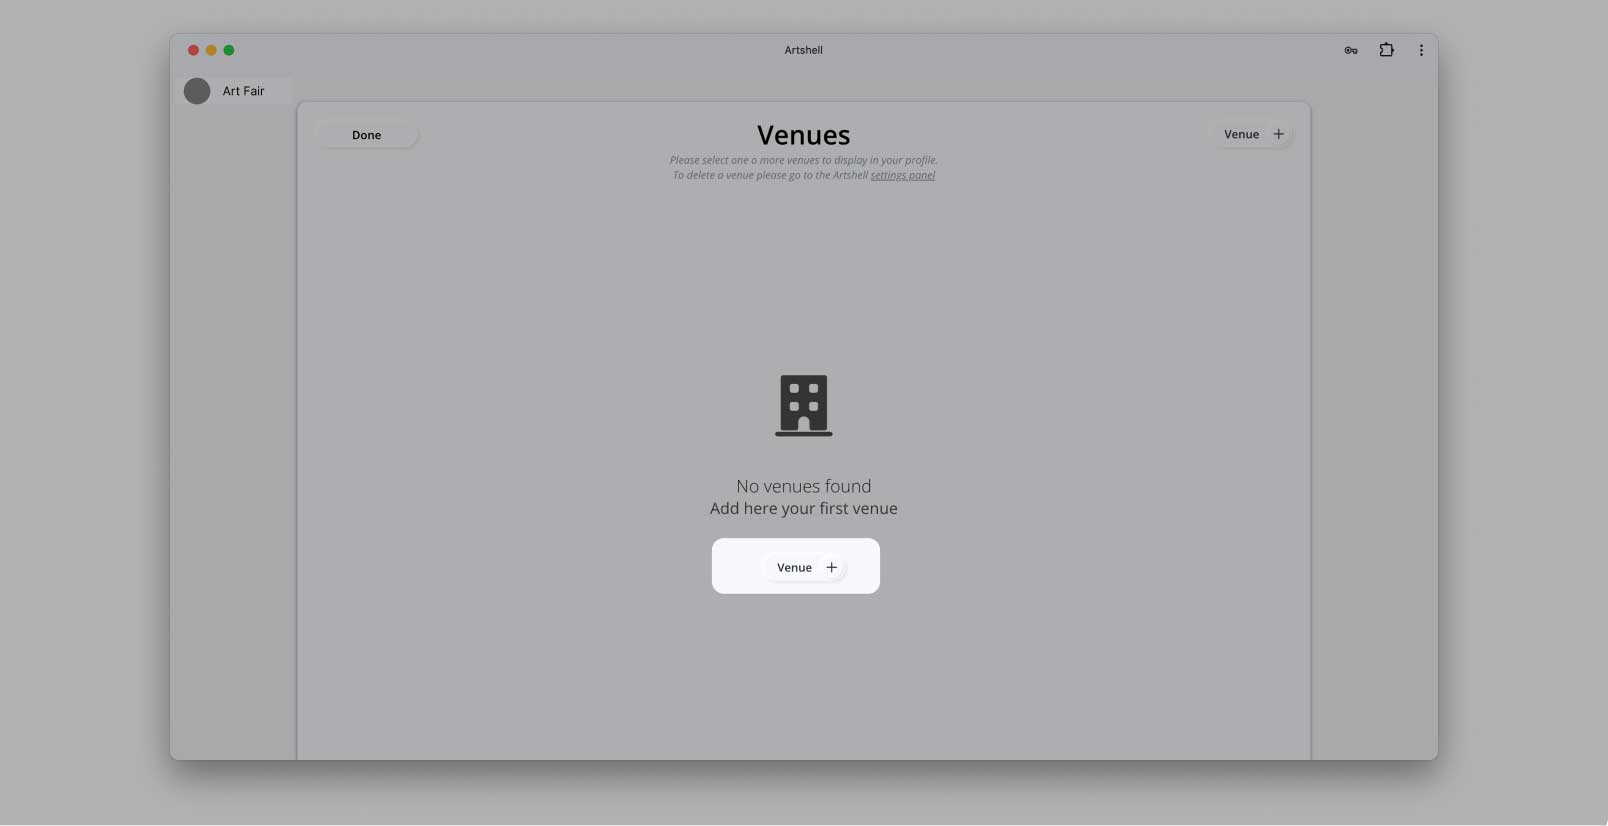
- Click on "Manage venues" and then on "Venue+" in the upper right corner.
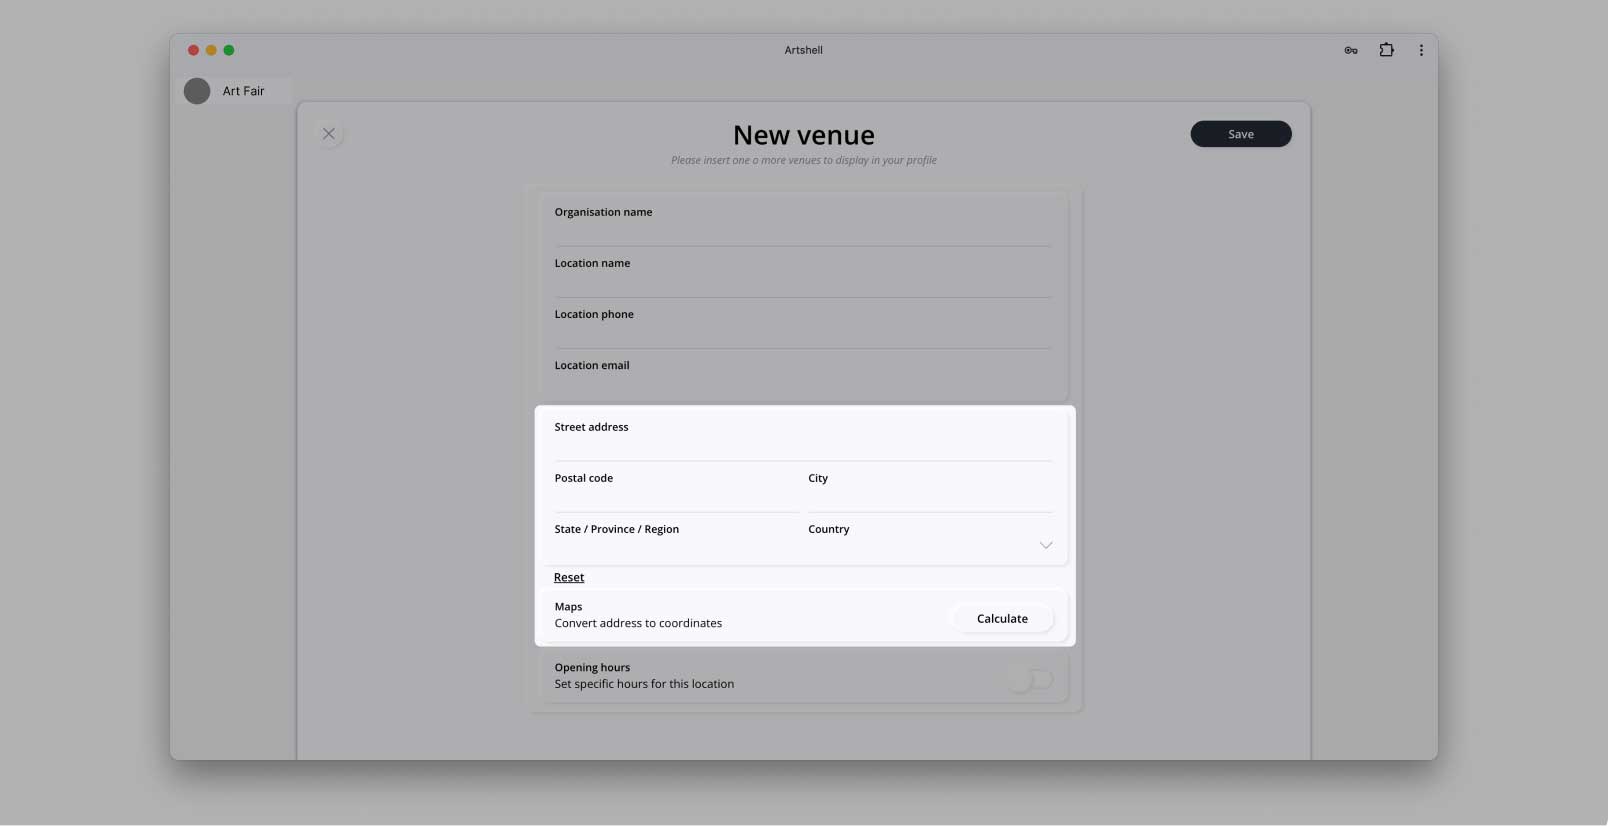
- Fill in the required fields and enter the physical address of the venue. Click "Calculate" to automatically configure the geographic coordinates of the address for map display.
- To add opening hours activate the option by clicking the corresponding command. You can choose between continuous hours or morning/afternoon closing, enter hours manually, select days of the week, and specify time zone and additional details.
Once you have completed all the fields, click on "Save" in the upper right corner to save the card.You can add more venues by repeating these steps.
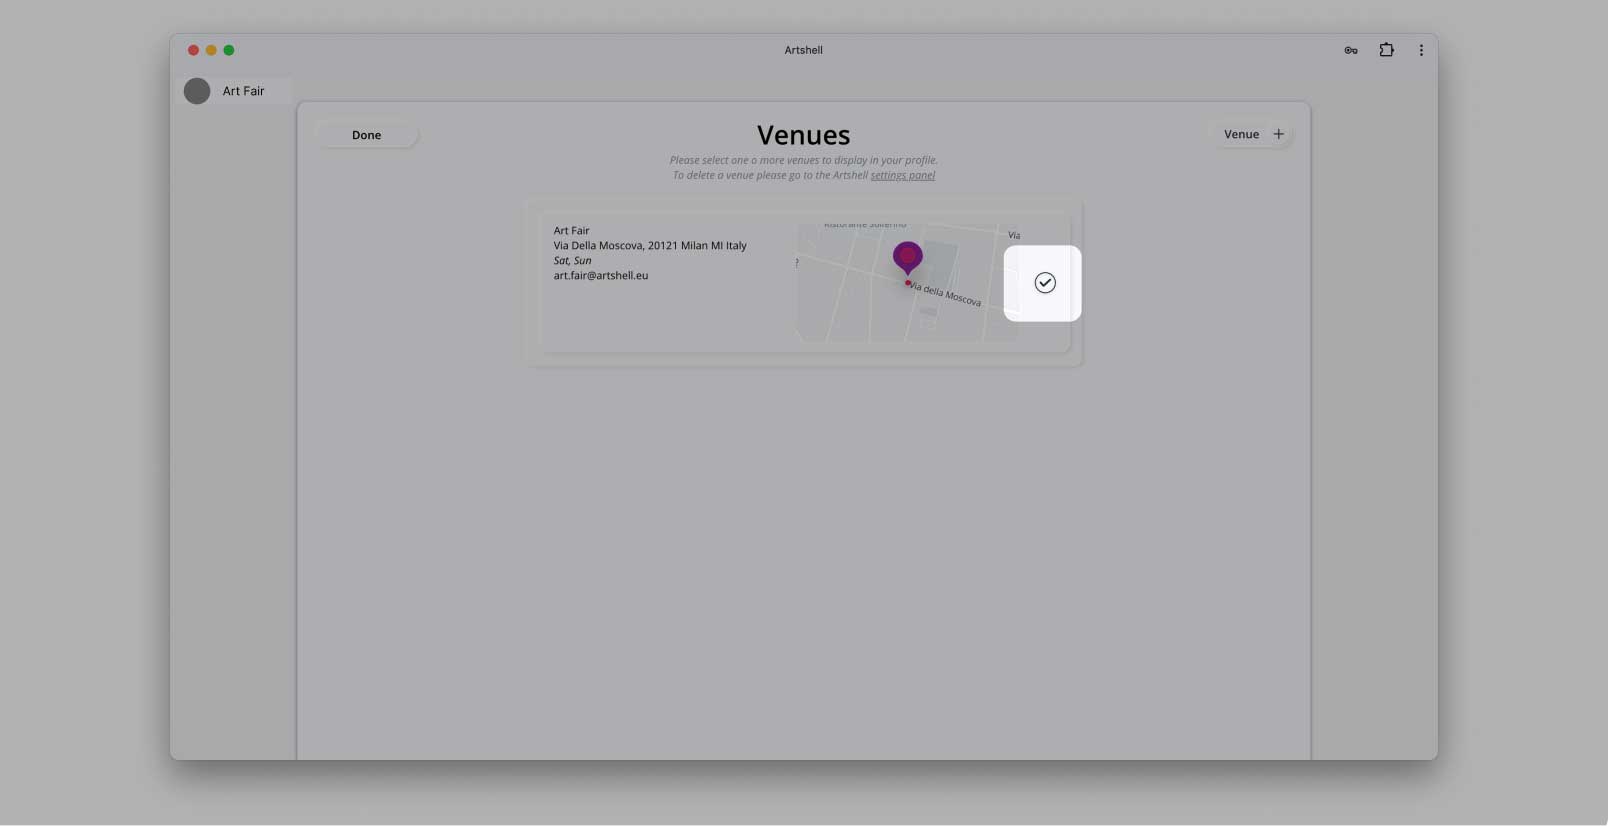
After saving the venues, select them by clicking on the white dots next to each venue to make them appear on the gallery page on the fair's online platform.
If you do not want some of the locations you create to appear, simply do not select them. To permanently delete locations from your profile, click on the "Settings Panel" link at the top. A side panel with your locations will open: click on the three black dots and select "Delete Office."
- From Manage venues, add a new venue
- Fill in the fields and geolocate the address on the map
- Enter your opening hours
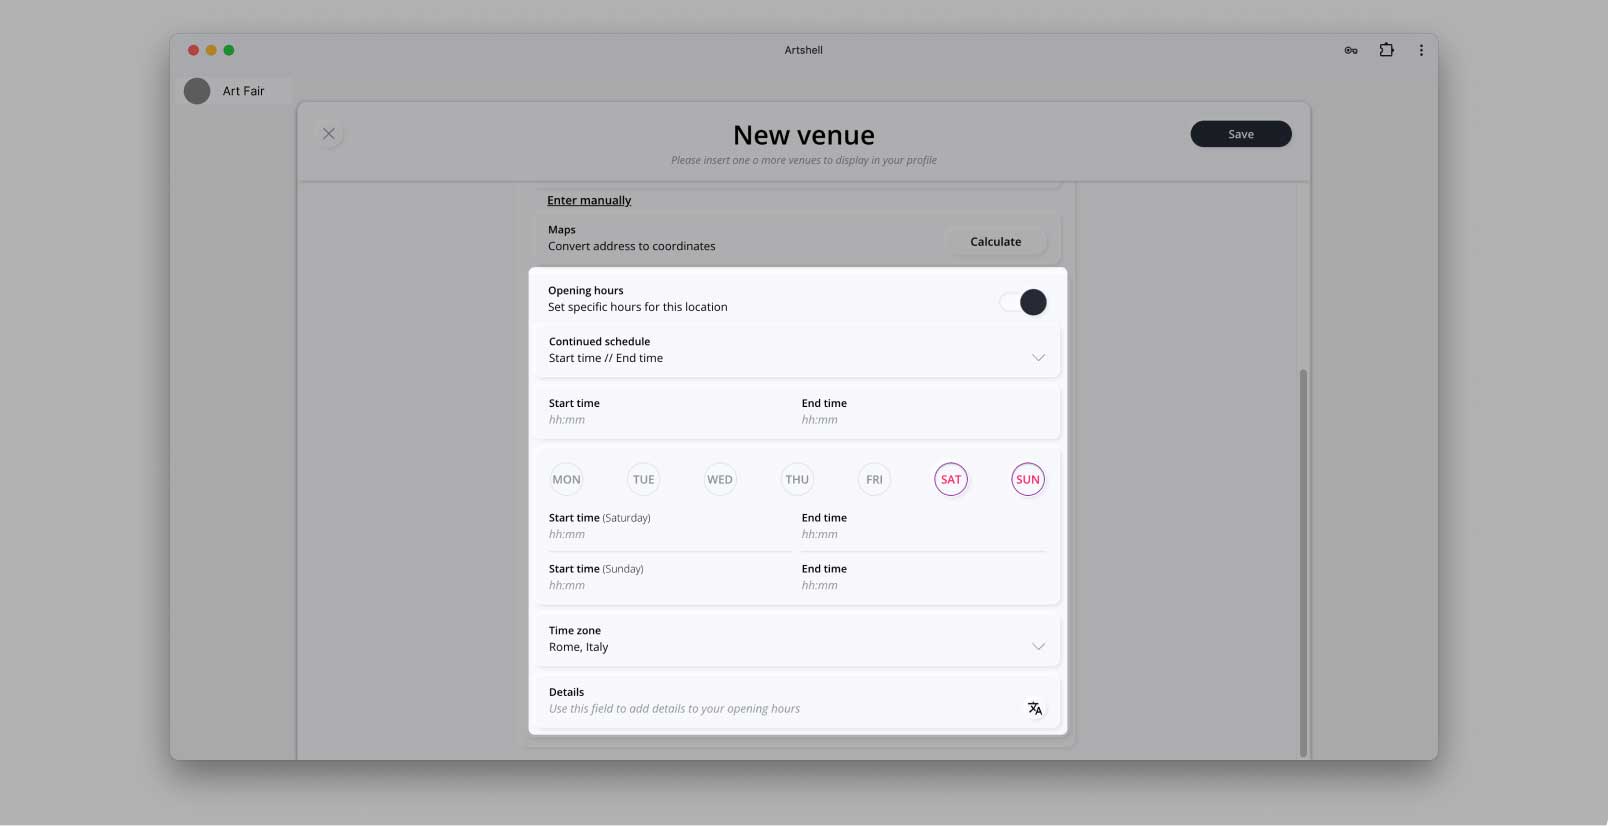
- Save the venue card.
You can add more venues by clicking on the Venue+ button again and repeating all the steps just explained.
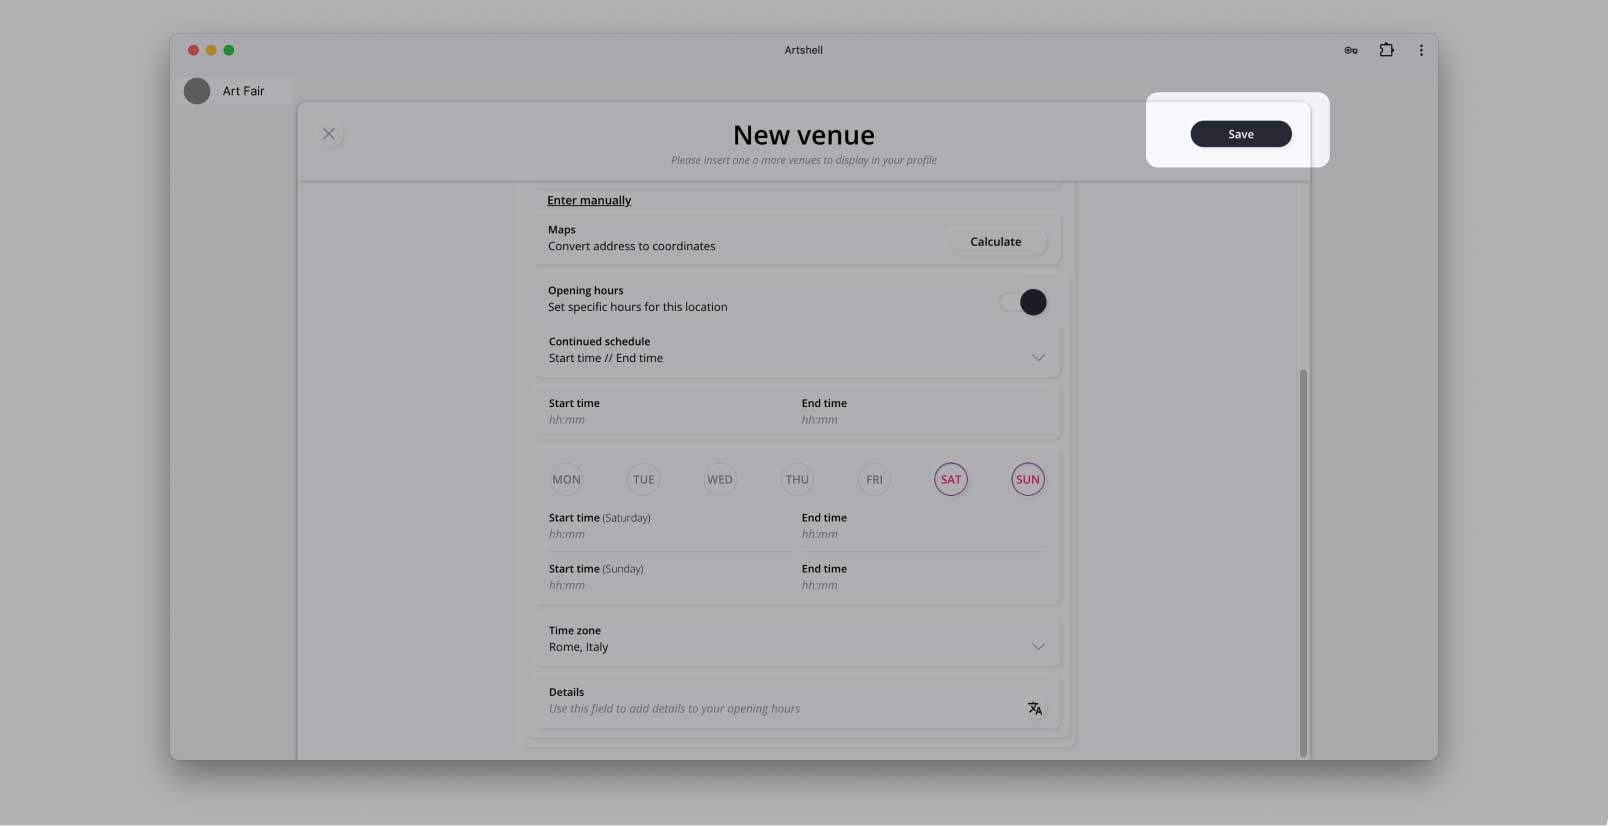
- Select or deselect the venue to publish it
- Delete a venue you created
- Click on the link at the top Settings panel;
- Click on the three black dots in the panel that opens to the side;
- Choose Delete venue.

3.6 List the artists represented
In this section you can add represented artists who will appear on the gallery page on the fair's online platform.
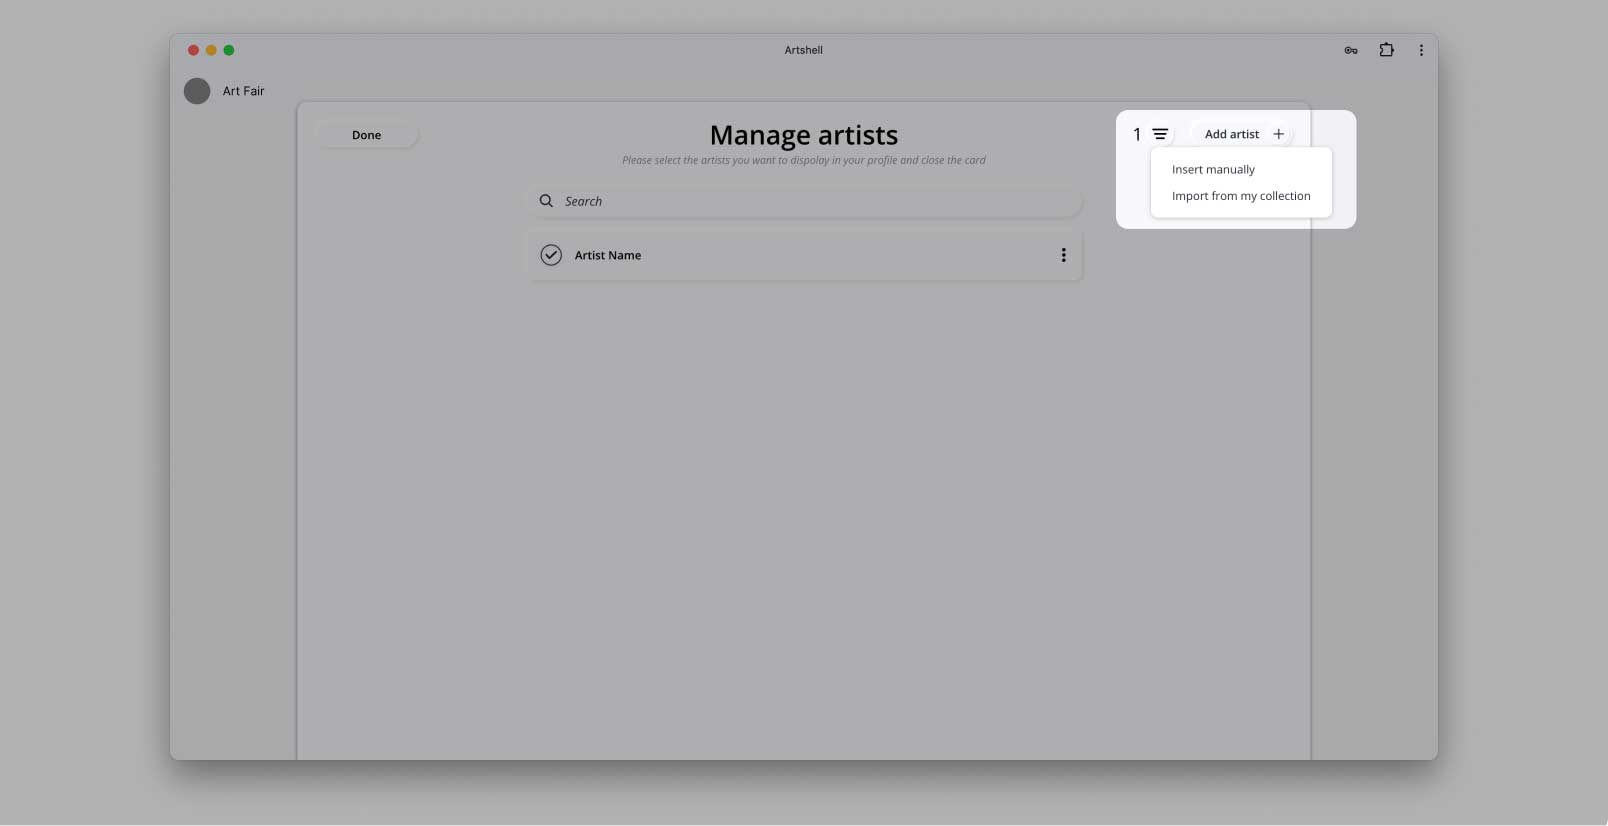
To begin, click on the Manage Artists button.
Once inside, click on Artist+ in the upper right-hand corner to create a list of your artists and fill out the relevant tab.
You have 2 options for entering information:
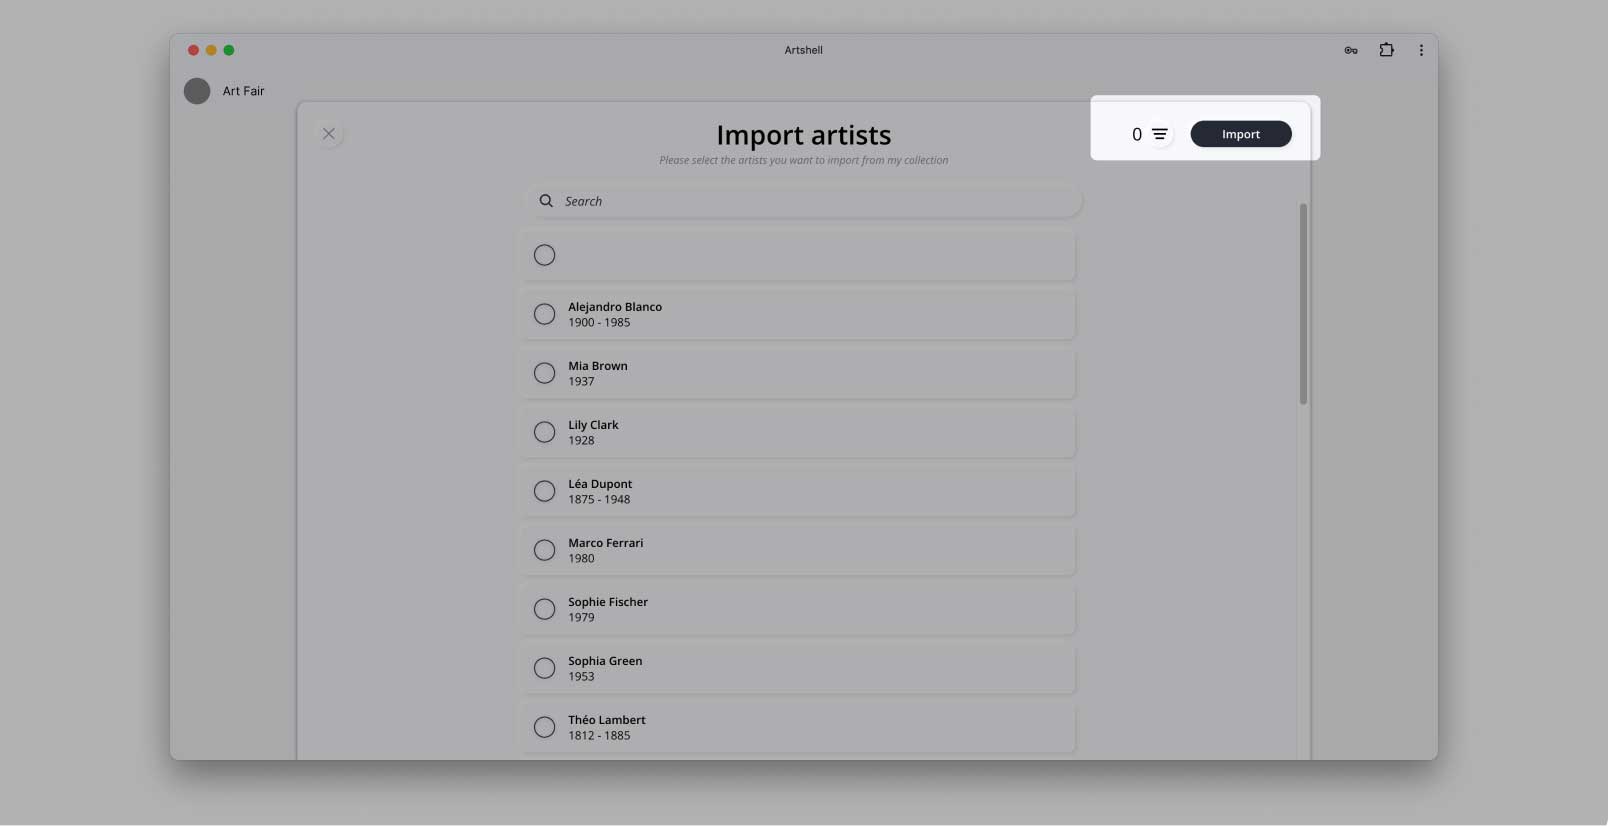
- Import from my collection if you already use Artshell or have attended previous editions of the fair.
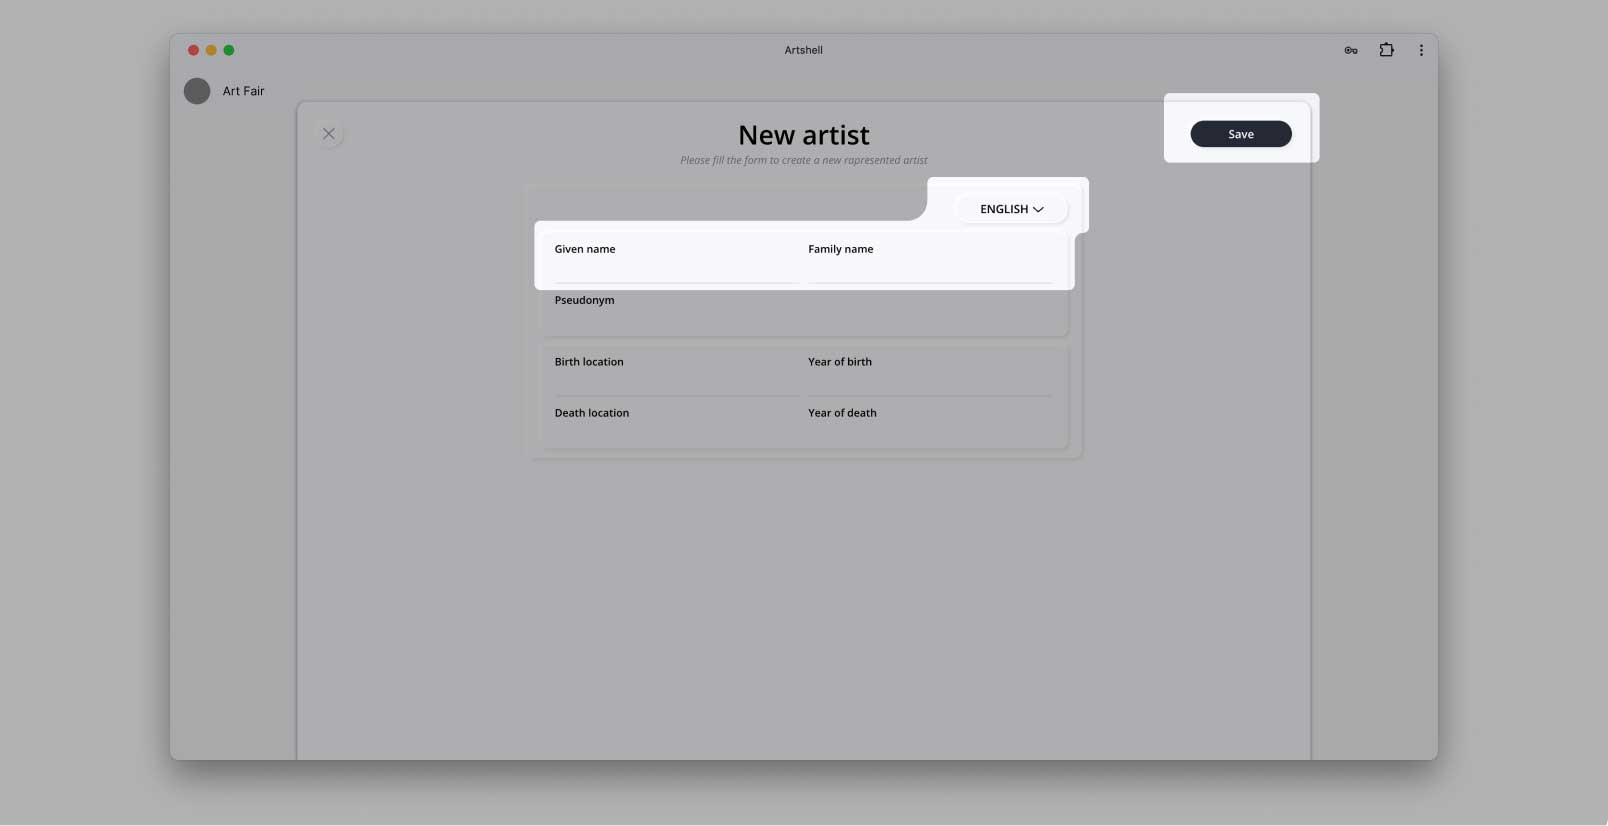
- Choose instead to enter manually to add the data manually.You can fill out the form in Italian and/or English by selecting the language using the Italian or English buttons in the upper right corner.
Once completed, remember to click Save in the upper right corner to store the artist's information.
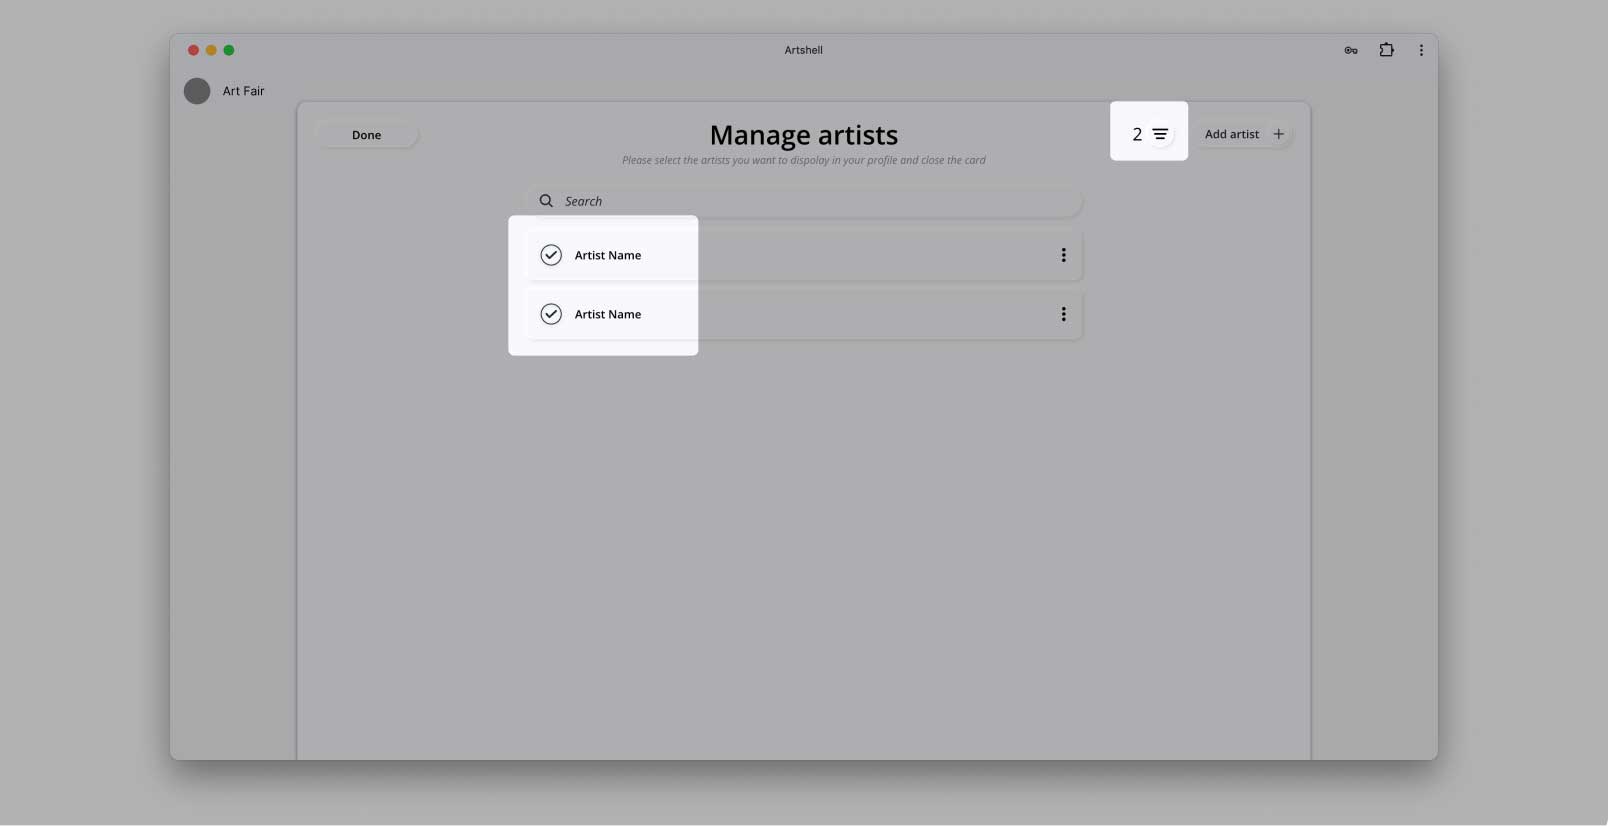
Once entered in your profile, manually select which artists you would like to appear on the fair's online platform by clicking on the names. The selected artists have a black check mark in the white dot next to the name. The counter at the top right shows the number of artists you have selected. If you want to view only the selected artists click on the "list" icon next to the counter.
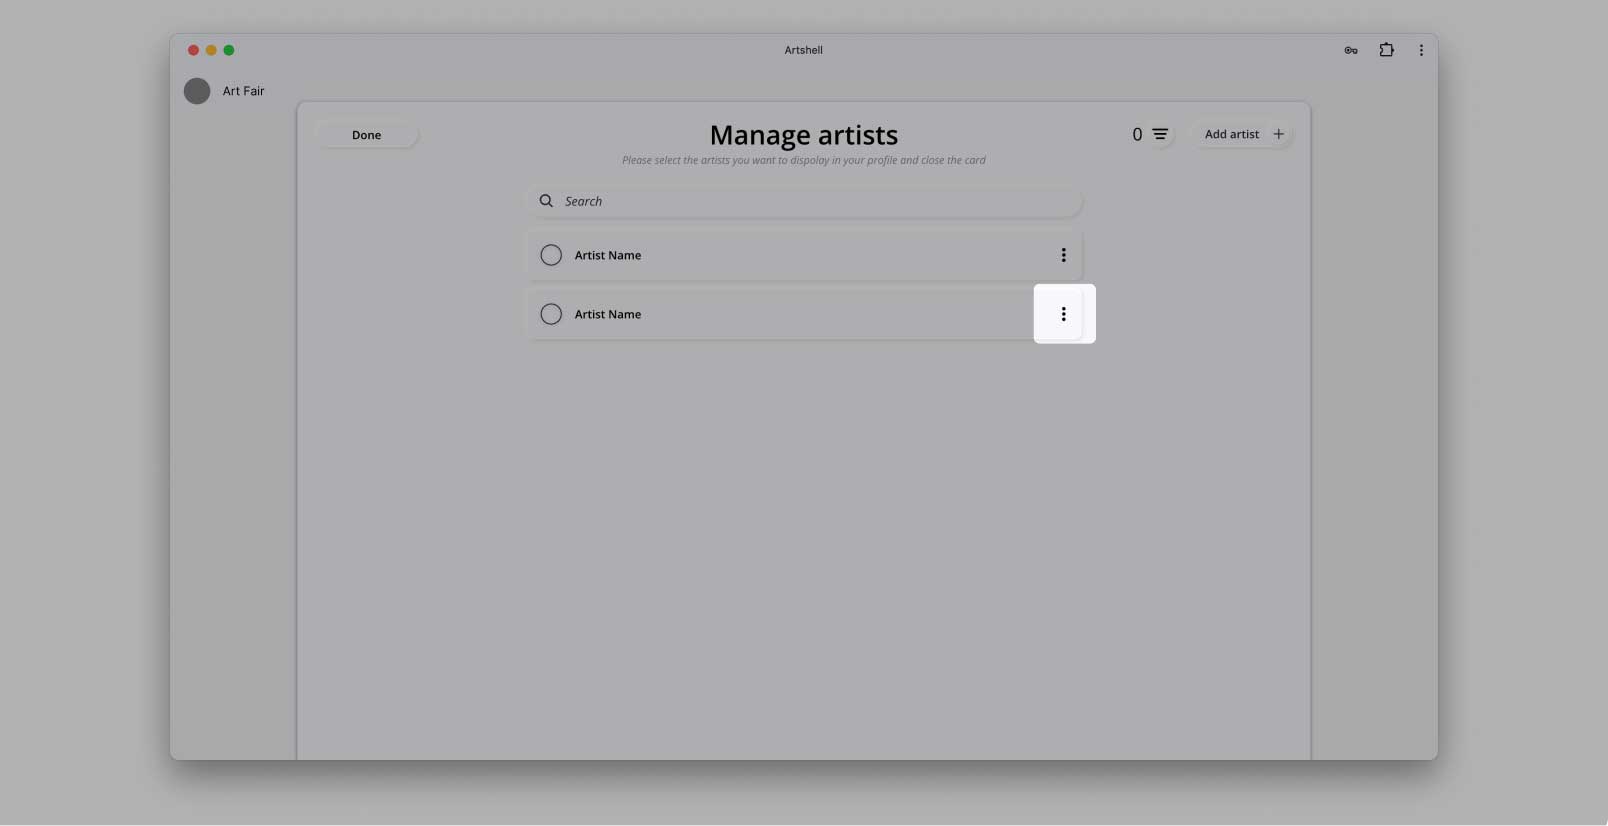
To permanently delete or edit an artist's record, click on the three black dots to the right of the name and choose Edit Artist or Delete Artist.
Repeat these steps to create additional tabs for each artist you want to add.
- Enter the "Manage Artists" section.
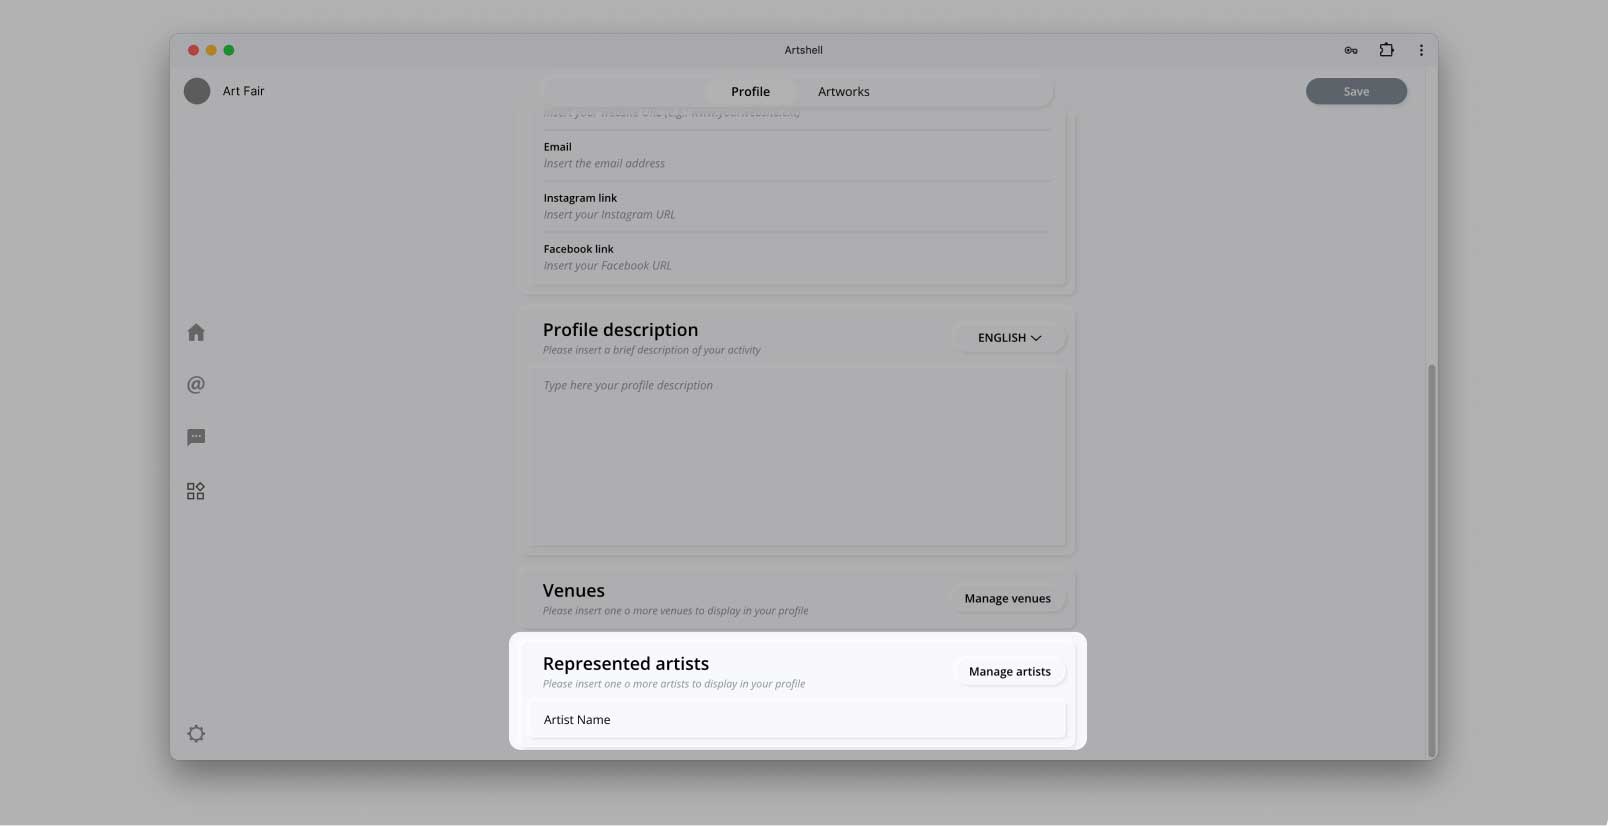
- Insert or import an artist
- Fill out and save the new artist's profile.
You can add more venues by clicking on the Venue+ button again and repeating all the steps just explained.
- Select or deselect the venue to publish it
- Edit or delete artist profile
